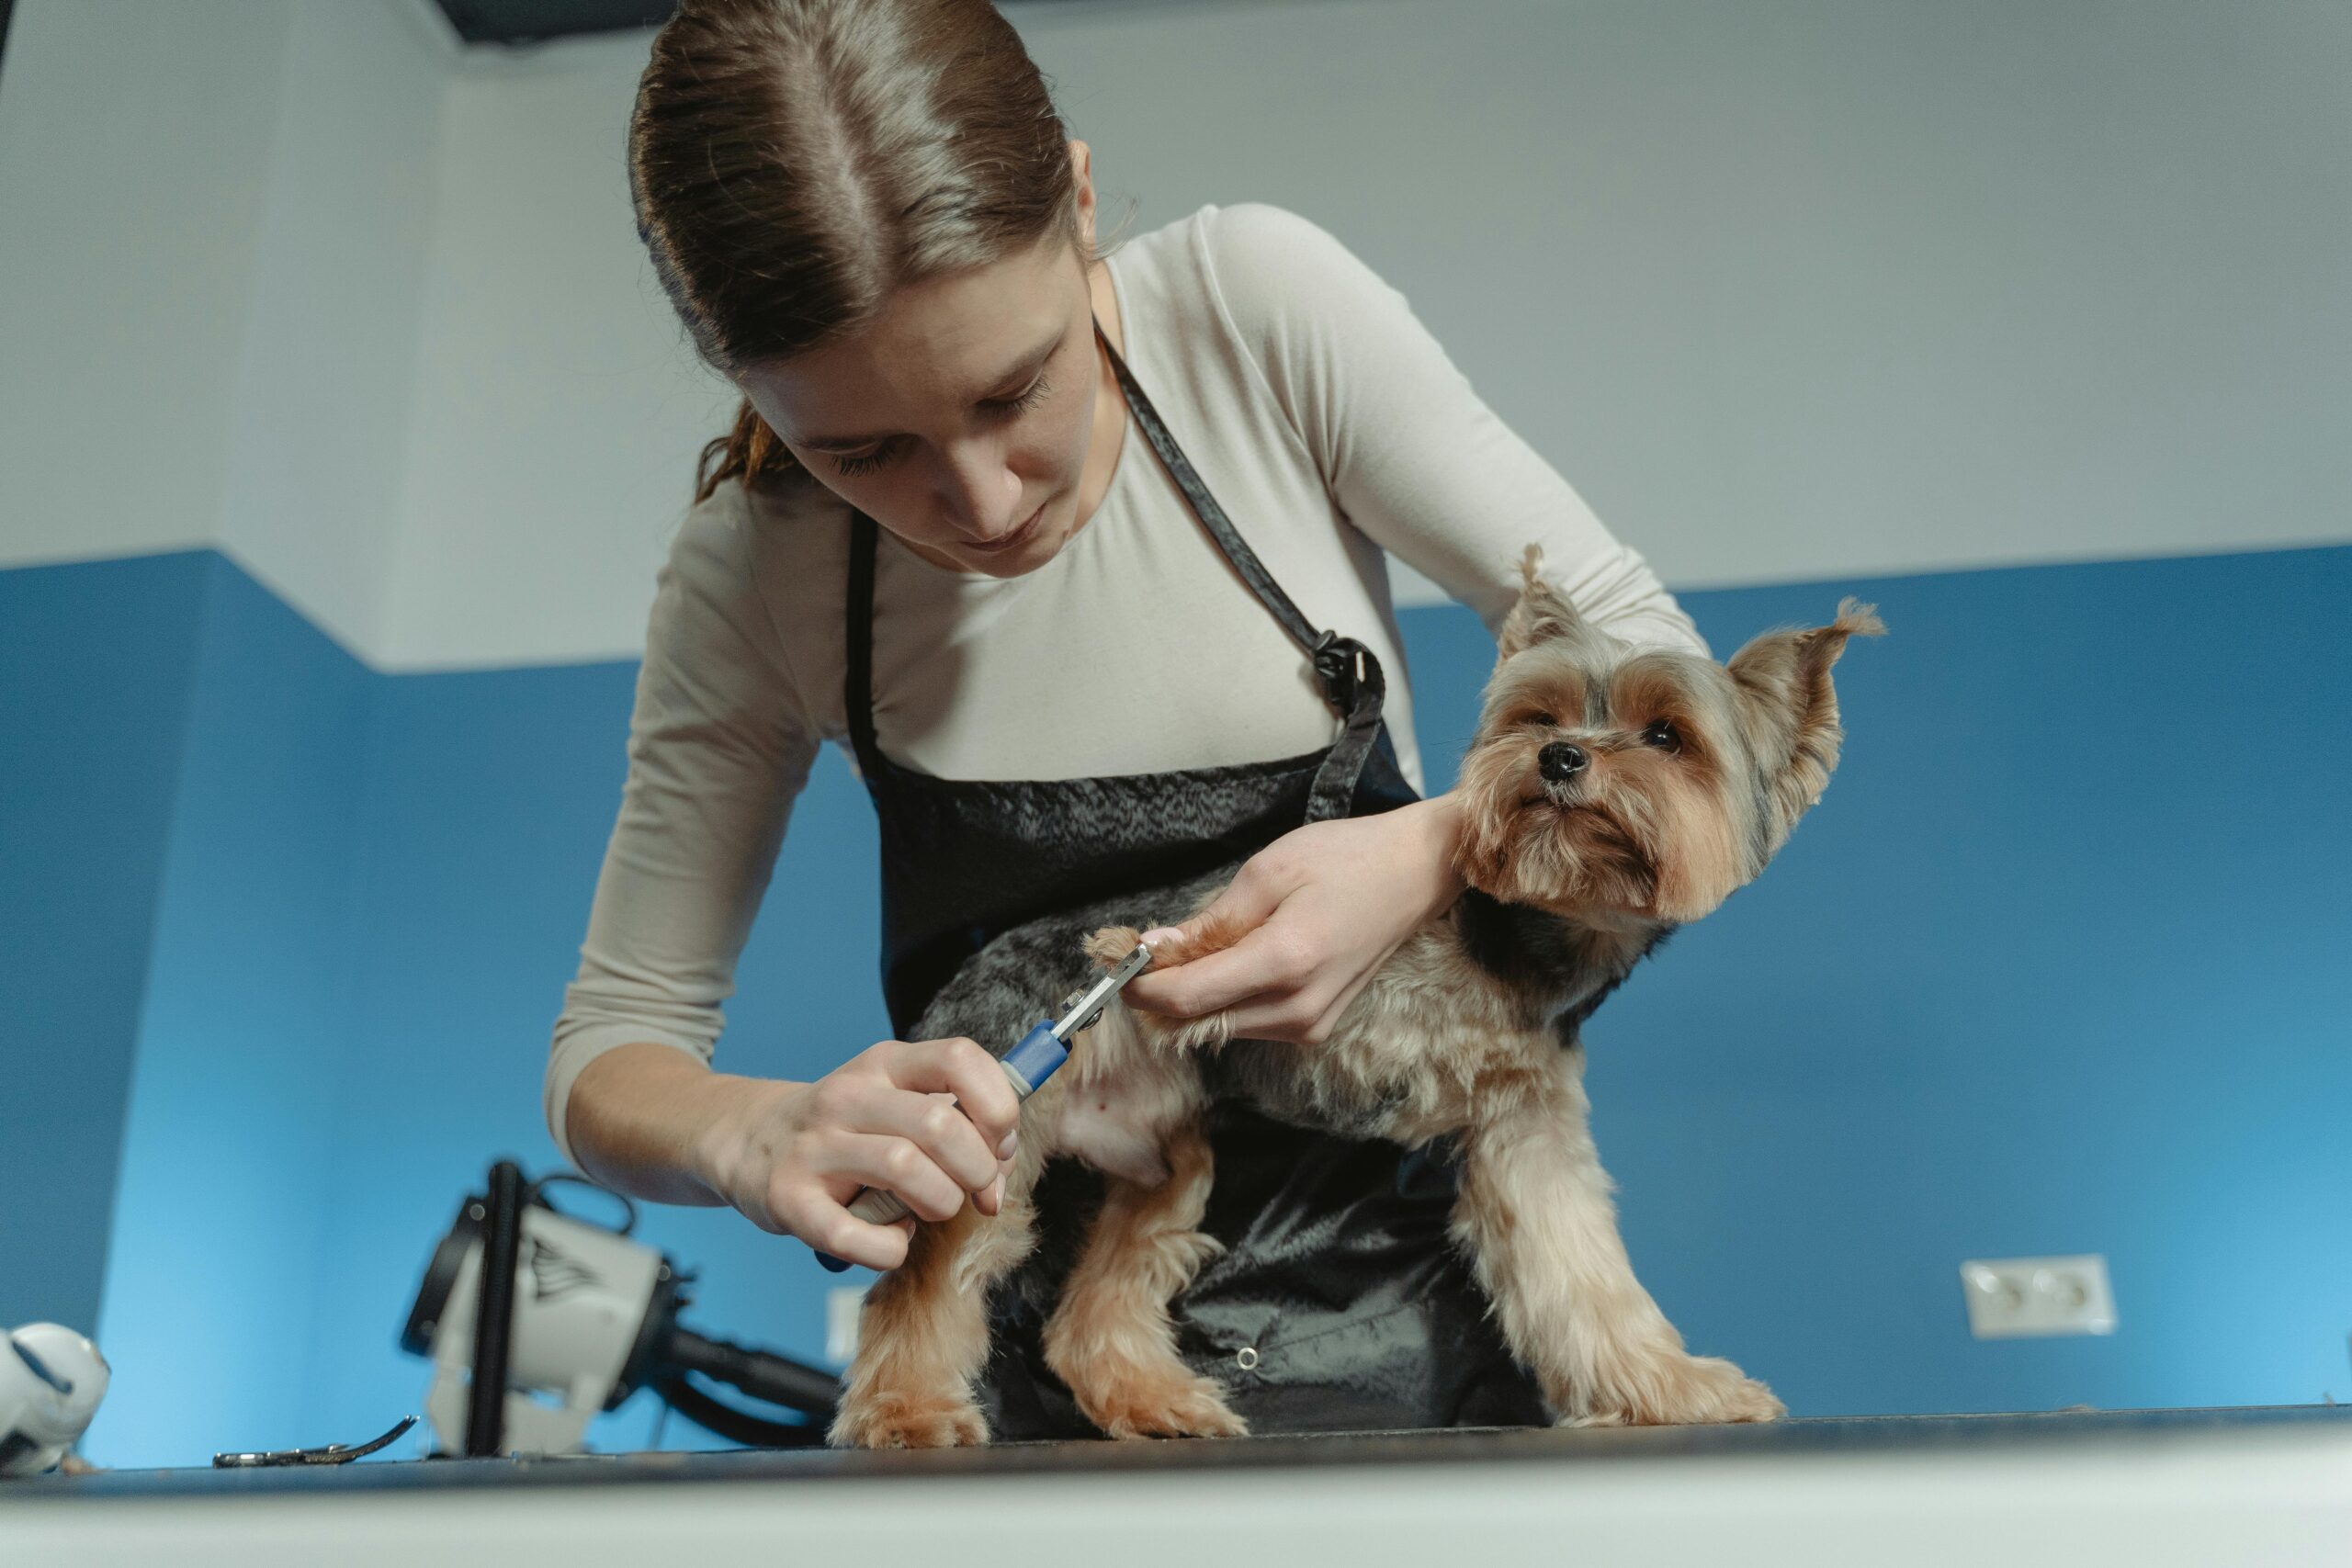
Trimming your dog’s nails is a necessary part of pet care, but knowing when to stop can be a common concern for many dog owners.
In this guide, we’ll explore the cues and signals that indicate “How to Know When to Stop Cutting Dog Nails.”
Understanding these signs is crucial for both the well-being of your furry friend and the success of the nail-trimming process.
Let’s dive into the key indicators that will help you confidently and safely maintain your dog’s paw health.
Table of Contents
Understanding Canine Clues: How to Know When to Stop Cutting Dog Nails
1] Observe the Paw Color
When trimming your dog’s nails, pay close attention to the color of the nails.
The presence of a pale, pinkish area at the center of the nail, known as the quick, serves as a visual indicator to guide your trimming.
It’s crucial to stop cutting once you identify this sensitive area to prevent discomfort and potential bleeding.
Regular observation of the paw color during nail trimming ensures a safe and pain-free experience for your furry friend.
2] Listen for Clicking Sounds
Take note of the sound your dog’s nails make when walking on hard surfaces.
If you hear a consistent clicking noise, it’s an indication that the nails are likely too long.
Gradually trim the nails until the clicking diminishes.
This auditory cue serves as a practical guideline to maintain an optimal nail length, promoting your dog’s comfort and preventing issues associated with overgrown nails.
Tip: “Trim gradually until the clicking diminishes, ensuring a comfortable length.”
3] Check for Visible Cracks or Frays
After trimming, inspect the edges of the nails for any visible cracks or frays.
These signs suggest that you may have cut too close to the quick.
To avoid discomfort and potential pain, allow the nails to grow slightly before the next trimming session.
Monitoring for visible indicators of overcutting ensures a careful and considerate approach to your dog’s nail care.
4] Watch for Signs of Discomfort
While trimming your dog’s nails, pay attention to their behavior.
If your dog appears uncomfortable, anxious, or pulls away, it’s crucial to stop the trimming process immediately.
Dogs are adept at communicating their discomfort, and respecting their cues ensures a positive and stress-free experience during nail care.

Taking breaks and proceeding at your dog’s pace fosters trust and cooperation.
In the silent dialogue of cues, your dog’s discomfort speaks volumes, guiding a gentle pause in the trimming ritual.
5] Look for the Natural Curve
Observe the natural curve of your dog’s nails and aim to maintain this shape during trimming.
Avoid straight cuts, as they may lead to ingrown nails or discomfort while walking.
By preserving the natural curve, you promote proper weight distribution on the paws, contributing to your dog’s overall comfort and mobility.
6] Examine the Bottom Pads
After trimming, carefully examine the bottom pads of your dog’s paws.
If you notice any signs of redness, irritation, or sensitivity, it indicates that the nails may be too short.
Adjust your trimming technique accordingly to avoid further discomfort.
Monitoring the condition of the paw pads post-trimming ensures that your dog can walk comfortably without any adverse effects on their paw health.
Tip: “Adjust your technique if needed to ensure optimal comfort while walking.”
7] Feel for the Nail’s Flexibility
Take a moment to gently squeeze the tip of each trimmed nail.
A flexible and slightly yielding feel indicates an appropriate length.
If the nail feels rigid or unyielding, it may be an indication that you need to trim a bit more.
This tactile approach allows you to fine-tune the length of the nails, ensuring they are neither too short nor too long.
8] Watch for Limping or Uneven Gait
Following the trimming process, closely observe your dog’s walking pattern.
If you notice any limping, an uneven gait, or signs of discomfort, it suggests that the nails may have been cut too short.
Provide a comfortable and supportive environment, allowing time for the nails to naturally regrow before the next trimming session.
These post-trimming observations help you adjust your approach and prioritize your dog’s well-being.
• After trimming, observe your dog's walking closely
• Look for limping, uneven gait, or signs of discomfort
• If nails are cut too short, provide a comfortable environment
• Allow time for nails to regrow before the next trimming session
9] Consider Your Dog’s Size and Breed
Recognize that different dogs, especially those of varying sizes and breeds, may have different nail growth rates.
Smaller dogs and certain breeds may require more frequent trims to maintain optimal nail length.
Tailor your trimming schedule based on your dog’s unique characteristics, ensuring a personalized approach to their nail care needs.
10] Reward with Treats and Affection
Throughout the nail trimming process, consistently offer treats and affection to create positive associations.
Rewarding your dog for calm and cooperative behavior fosters a positive mindset towards nail care.
This positive reinforcement not only reduces stress but also makes your dog more receptive to future trimming sessions.
Incorporate a mix of treats and verbal praise to make the experience enjoyable for both you and your furry companion.
Tip: “Reduce stress and make your dog more cooperative in future sessions.”
11] Know Your Limits
It’s essential to recognize your comfort level and expertise in nail trimming.
If you feel uncertain or uncomfortable with the process, knowing your limits is crucial.
Seeking professional help from a groomer or veterinarian ensures that your dog’s nails are trimmed appropriately without causing stress or discomfort.
Professional assistance guarantees a safe and efficient nail care experience for your dog, promoting their well-being and overall paw health.
How to Know When to Stop Cutting Dog Nails: FAQs
How often should I trim my dog’s nails?
The frequency of nail trimming depends on your dog’s activity level and breed. On average, monthly trimming is a good starting point, but more active dogs may require more frequent sessions.
Can I use a nail grinder instead of clippers?
Yes, nail grinders are an alternative to clippers and can be less intimidating for some dogs. However, the same principles apply – stop when you reach the appropriate length and avoid overcutting.
Should I be concerned about bleeding during nail trimming?
Accidental bleeding can occur if you cut into the quick. If bleeding happens, use styptic powder to stop it. However, it’s crucial to avoid this by observing the nail’s anatomy and trimming cautiously.
What if my dog dislikes nail trimming?
If your dog is resistant to nail trimming, take a gradual approach. Introduce the tools slowly, associate them with positive experiences, and seek professional help if needed.

Conclusion:
Learning How to Know When to Stop Cutting Dog Nails is a crucial skill for responsible pet ownership.
By paying attention to your dog’s body language, reactions, and the condition of their nails, you can ensure a positive and stress-free nail-trimming experience.
Trust the cues provided by your canine companion, take it slow, and don’t hesitate to seek professional help if needed.
With patience and attentiveness, you’ll become adept at maintaining your dog’s nails while fostering a sense of comfort and trust during the process.